
Qualitätskontrolle in einem biotechnologischen Labor einführen, Schritt für Schritt
Beginnen Sie beim Risiko, nicht bei der Papierarbeit: Listen Sie die Prozesse auf, die ein Produkt ruinieren können, entscheiden Sie, welche Parameter belegen, dass diese Prozesse unter Kontrolle blieben, und instrumentieren, validieren und dokumentieren Sie sie in dieser Reihenfolge. Die wirksamsten Umsetzungen machen den Nachweis zu einem Nebenprodukt des täglichen Betriebs statt zu einem Projekt in der Auditwoche.
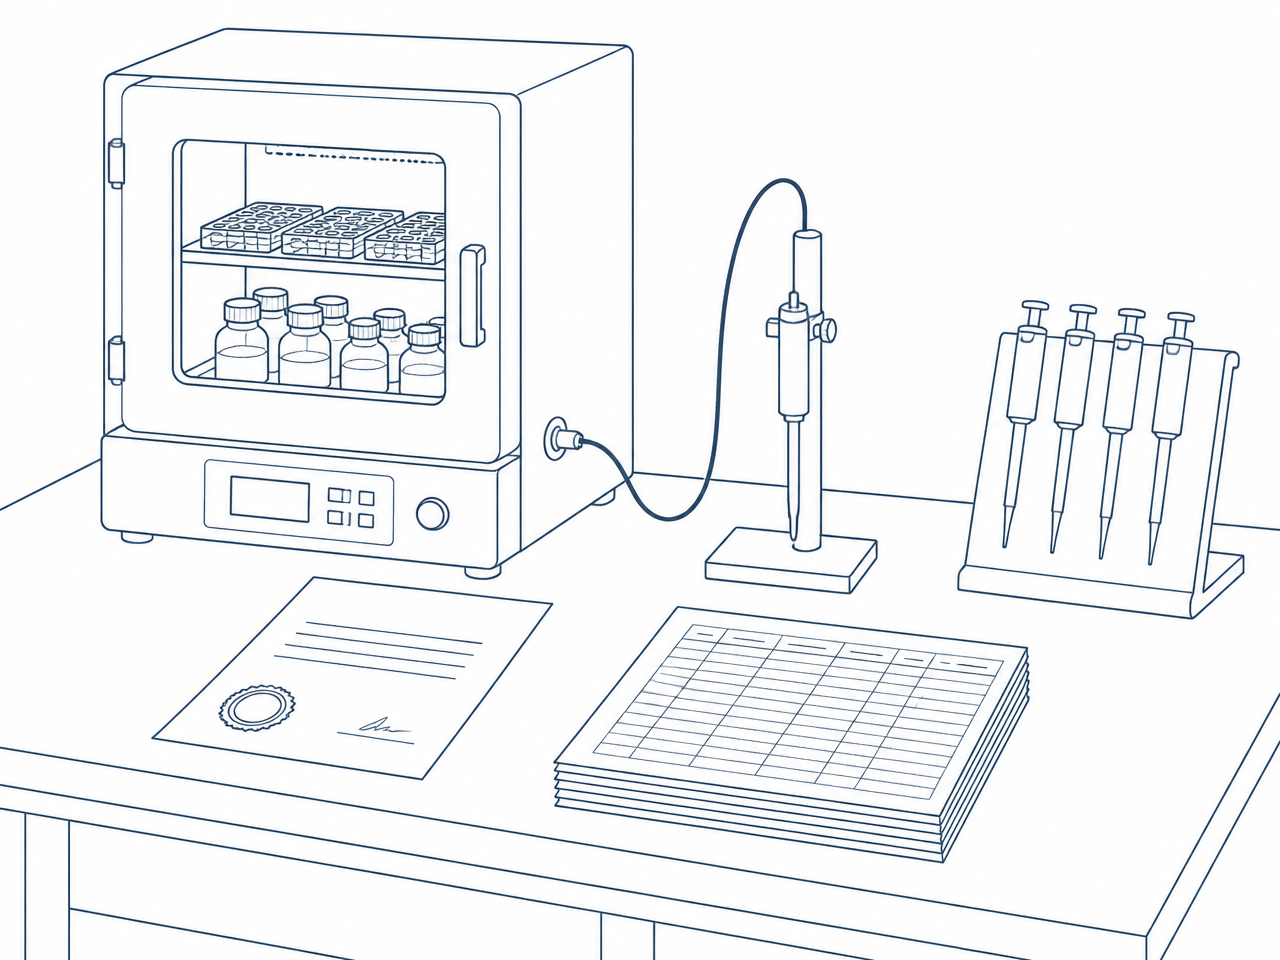
Schritt 1 — Mit einer Risikobewertung beginnen, nicht mit einer Checkliste
Bilden Sie jeden Prozess von der Materialannahme bis zur Freigabe ab und fragen Sie bei jedem Schritt, was das Ergebnis unbemerkt ungültig machen könnte. Eine strukturierte Methode wie FMEA eignet sich gut: Bewerten Sie Schweregrad, Wahrscheinlichkeit und Entdeckbarkeit, und lassen Sie die Entdeckbarkeit entscheiden, wo Monitoring hingehört. Hoher Schweregrad bei geringer Entdeckbarkeit ist der Punkt, an dem sich Instrumentierung auszahlt.
Schritt 2 — Kritische Parameter und ihre Grenzwerte festlegen
Benennen Sie für jedes Risiko den messbaren Parameter, der Kontrolle belegt, und setzen Sie zwei Schwellenwerte statt einem: eine Warngrenze, die Ihnen Zeit zum Handeln gibt, und eine Aktionsgrenze, die eine Abweichung definiert. Halten Sie die wissenschaftliche Begründung für beide fest, denn das ist das Erste, was ein Auditor hinterfragt.
| Prozess | Kritischer Parameter | Typische Kontrolle |
|---|---|---|
| Zellbanking | Lagertemperatur, LN₂-Füllstand | Kontinuierliche, unabhängige Messung |
| Upstream-Kultur | CO₂, O₂, Temperatur, Bewegung | Kontinuierlich, mit Alarm bei Bewegungsausfall |
| Abfüllung und Konfektionierung | Differenzdruck, Partikel, Feuchtigkeit | Kontinuierlich, pro klassifizierter Zone |
| Reagenzienlagerung | Temperatur, Türstatus | Kontinuierlich, mit Meldung von Abweichungen |
| Probenlogistik | Temperatur während des Transports | Aufgezeichnet pro Sendung |
Schritt 3 — Unabhängig von den Geräten instrumentieren
Verwenden Sie Sensoren, die zum Monitoring-System gehören und nicht zum überwachten Gerät, und platzieren Sie sie dort, wo sich das Produkt befindet, nicht dort, wo das Kabel gerade hinreicht. Mapping-Studien entscheiden über die Platzierung in Gefrierschränken, Inkubatoren und Räumen mit Schichtbildung. Jeder Sensor braucht von Tag eins an einen Kalibrierplan und ein rückführbares Zertifikat, nicht erst ab dem ersten Audit.
Schritt 4 — Den Eskalationsweg entwerfen, bevor Sie irgendetwas einschalten
- Wer wird zuerst benachrichtigt, auf welchem Gerät, und innerhalb wie vieler Minuten.
- Was passiert, wenn die erste Person nicht bestätigt: zweite Instanz, dritte Instanz, und ein Rückfallmechanismus, der nicht von einem einzigen Telefon abhängt.
- Welche Alarme dürfen von wem und mit welcher dokumentierten Begründung stummgeschaltet werden.
- Welche Alarme sofort eine Produktsperre auslösen statt nur eine Untersuchung.
Ein unbestätigter Alarm ist die kostspieligste Fehlerart. Testen Sie die Kette in der Praxis, nachts, bevor Sie sich darauf verlassen.
Schritt 5 — Validieren: IQ, OQ, PQ
Die Installationsqualifizierung belegt, dass das System wie spezifiziert installiert wurde, mit Seriennummern, Zeichnungen und Firmware-Versionen. Die Betriebsqualifizierung belegt, dass es sich über seinen gesamten Bereich wie spezifiziert verhält, einschließlich Alarme, Eskalation und Stromausfall. Die Leistungsqualifizierung belegt, dass dies über die Zeit unter realen Produktionsbedingungen so bleibt. Schreiben Sie die Akzeptanzkriterien vor den Tests, und bewahren Sie gefundene Abweichungen zusammen mit dem, was Sie geändert haben, auf.
Revalidieren Sie bei jeder Änderung: neue Sensoren, versetzte Geräte, geänderte Grenzwerte, Software-Updates. Ein Änderungsprotokoll, das auf die ursprüngliche Qualifizierung verweist, macht die nächste Inspektion kurz.
Schritt 6 — Die Daten belastbar machen (ALCOA+ und 21 CFR Part 11)
Aufzeichnungen müssen zuordenbar, lesbar, zeitnah, originär und korrekt sein, dazu vollständig, konsistent, dauerhaft und verfügbar. In der Praxis bedeutet das eindeutige Benutzerkonten, keine gemeinsam genutzten Logins, serverseitige Zeitstempel, einen nicht editierbaren Audit-Trail, sichere Aufbewahrung über den gesamten gesetzlichen Zeitraum und validierte Backups, die Sie tatsächlich wiederhergestellt haben.
- Elektronische Signaturen, an die Aufzeichnung gebunden, mit erfasster Bedeutung und Begründung.
- Automatische Erfassung, sodass niemand einen Wert von Hand überträgt.
- Aufbewahrung entsprechend der längsten geltenden Pflicht, was bei Gewebe- und Blutarbeiten Jahrzehnte betragen kann.
- Schreibgeschützter Export für Auditoren, ohne ihnen Zugriff auf das Live-System zu geben.
Schritt 7 — Abweichungen als geschlossenen Kreislauf behandeln
Jede Abweichung braucht dieselben fünf Aufzeichnungen: was geschah, wann es entdeckt wurde, wer reagierte, was über das betroffene Material entschieden wurde, und was geändert wurde, um eine Wiederholung zu verhindern. CAPA, die nie bis zu den Grenzwerten, der Platzierung oder der Eskalationsliste vordringt, ist eine Verwaltungsübung. Werten Sie Abweichungen vierteljährlich als Trend aus; derselbe Gefrierschrank, der dreimal auftaucht, sagt Ihnen etwas, bevor er ausfällt.
Schritt 8 — Die Menschen schulen und das System überprüfen
Ein QK-System ist nur so gut wie die Person, die um 02:00 Uhr ans Telefon geht. Schulen Sie zum Eskalationsverfahren, nicht nur zur Software, üben Sie das Szenario außerhalb der Betriebszeiten, und überprüfen Sie Grenzwerte, Sensorplatzierung und Kontaktlisten in festen Abständen. Personal wechselt häufiger als Gefrierschränke.
Die Reaktion auf einen Alarm bleibt immer bei Ihren eigenen Bereitschaftspersonen: Nur sie können Proben umlagern, ein Gerät umschalten oder einen Techniker rufen. Was ein Servicemodell hinzufügt, ist, dass das Monitoring-System selbst rund um die Uhr überwacht wird, sodass ein ausfallender Sensor, eine tote Station oder ein defekter Alarmweg gefunden und behoben wird, bevor Sie ihn brauchen.
Doch nicht die Antwort, die Sie brauchten?
Fragen Sie einen Berater. Sie erhalten eine technische Antwort, keine Broschüre.
Berater fragen