5 Pitfalls when Measuring Surface Temperatures (and how to fix them)
Measuring surface temperature in laboratories is not as easy as it sounds. Heated surfaces are frequently used to heat samples (even embryos), but can the display temperature of a heated surface actually be trusted? If samples are placed on incorrectly setup surfaces, it can have a very detrimental effect on the samples and can even cause embryos to incur viability damage due to extreme temperatures.
1. Calibration of the temperature display
The easiest mistake made in measuring surface temperature in a laboratory environment is the calibration of the temperature controller – sensor combination. People commonly trust a digital display to show the correct temperature, even if there is no reason to. Without proper calibration the digital display is simply not trustworthy and can even be misleading.
Make sure to frequently (mostly annually) calibrate the controller – display combination. If you do not have a proper traceable sensor to use as a standard, get a calibration company to perform the job for you. Having the peace of mind knowing something is actually correct, will improve the quality of work and the accuracy of the outcome of experiments.
2. Accuracy of the PID controller
A less commonly known issue is the setup of the PID controller. The accuracy of a sensor is not the only important part in providing an accurate surface temperature, the PID controller regulating it, is equally important. The PID controller takes the measurements from the sensor and calculates how much heat and for how long that heat needs to be delivered to get to the desired temperature. If set too relaxed, the heated surface will never reach the desired temperature. If set too aggressively, the system will never become stable and will continually undershoot and overshoot.
Firstly, note there is no “One Setting” that is correct for every unit. If only it was that simple. The setting of the PID controller is dependent on the sensor, heater, placement, and ambient conditions. Secondly, if ambient conditions fluctuate heavily, finding the correct setting to cope with all conditions can be quite a challenge.
3. Type of calibration temperature sensor
When users calibrate a temperature sensor themselves, it is important to know the characteristics of a sensor type. Using a tiny NTC probe can be beneficial to measure inside a small droplet, but the sensor is very susceptible to any change. Moving it a couple of mm or just breathing in its direction will immediately change the readout. This does not make it a bad sensor; it just is not “fit for purpose”.
If one wants to calibrate, stability is very important. If there is no stability, it either needs to be obtained by using a sensor with more thermal mass, or stability must be added by using an environment with a greater thermal mass and thermal stability. Using aluminium buffer blocks can be a helpful tool in adding stability in a calibration process.
4. Location of the sensor
When the temperature of a heated surface is used to keep living cells (like for example embryos) warm, the desired temperature range usually ranges from 35.5 – 38°C. Going lower and higher causes viability damage and needs to be avoided. Calibration of these heated surfaces is sometimes done measuring inside a dish with a tiny NTC handheld sensor, which can give rise to measurement errors. Also, the measurement is just a spot verification and tells you nothing about the conditions over a longer period.
First ask yourself where you need the temperature to be the desired value. If this is inside a plastic dish that is placed on top of a heated surface, it makes no sense calibrating directly on top of the heated surface without compensating for the plastic material and air gap between the heated surface and the dish. Also, it is important to measure for a longer period, in order to prevent spot measurement or PID regulation errors.
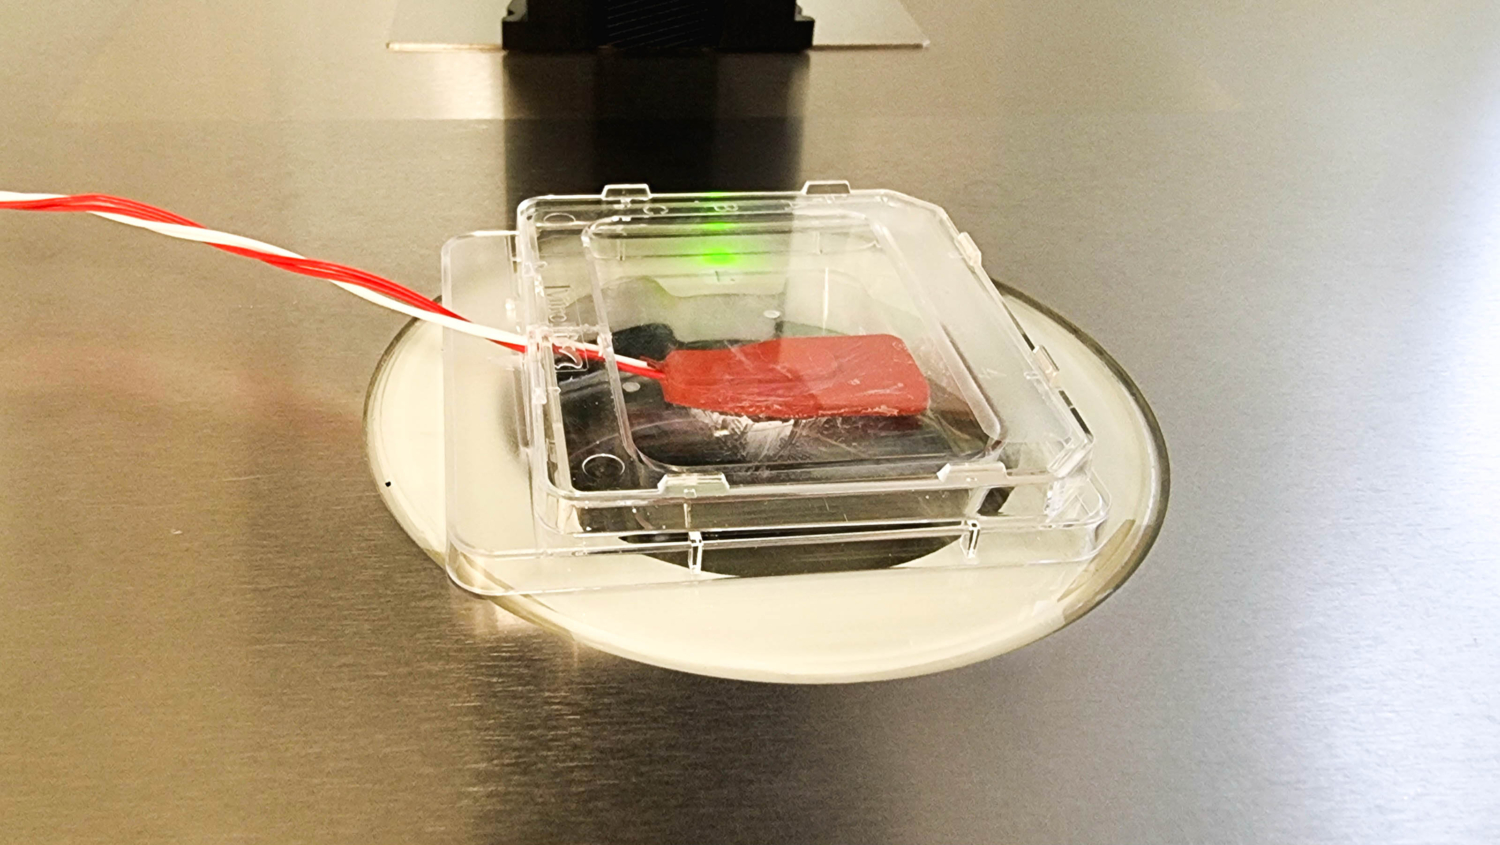
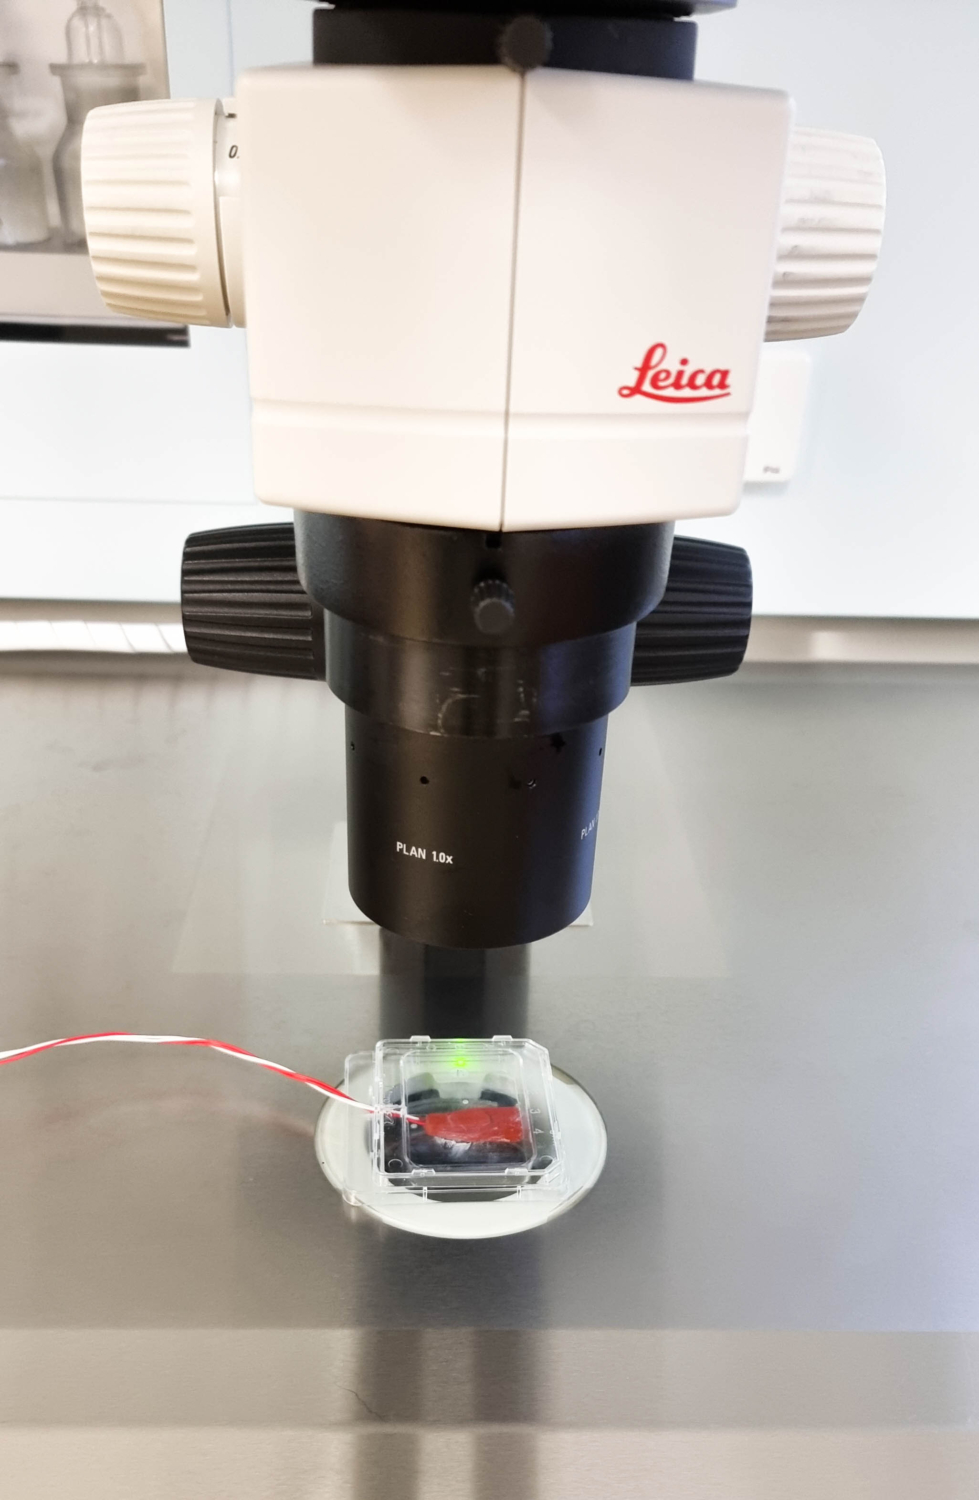
An example of a more trustworthy measuring solution is putting a Pt100 sensor inside a plastic dish. The Pt100 sensor has a relatively large surface area which can be used both as a larger thermal mass and a material to attach the sensor to the plastic surface. This attachment prevents the need for liquid inside the dish and provides an environment that can be used for a longer period. Measurements obtained from this measurement setup will provide a more readable graph with trend values.
5. Effects of ambient conditions on the measurements
The most difficult thing in generating and measuring correct surface temperatures is the effect of ambient conditions on the heated surface and the temperature generated. People might think if they have an air-conditioned laboratory area, this solves all issues, but nothing is farther from the truth. Not knowing the conditions of your laboratory environments is a non-mitigated risk.
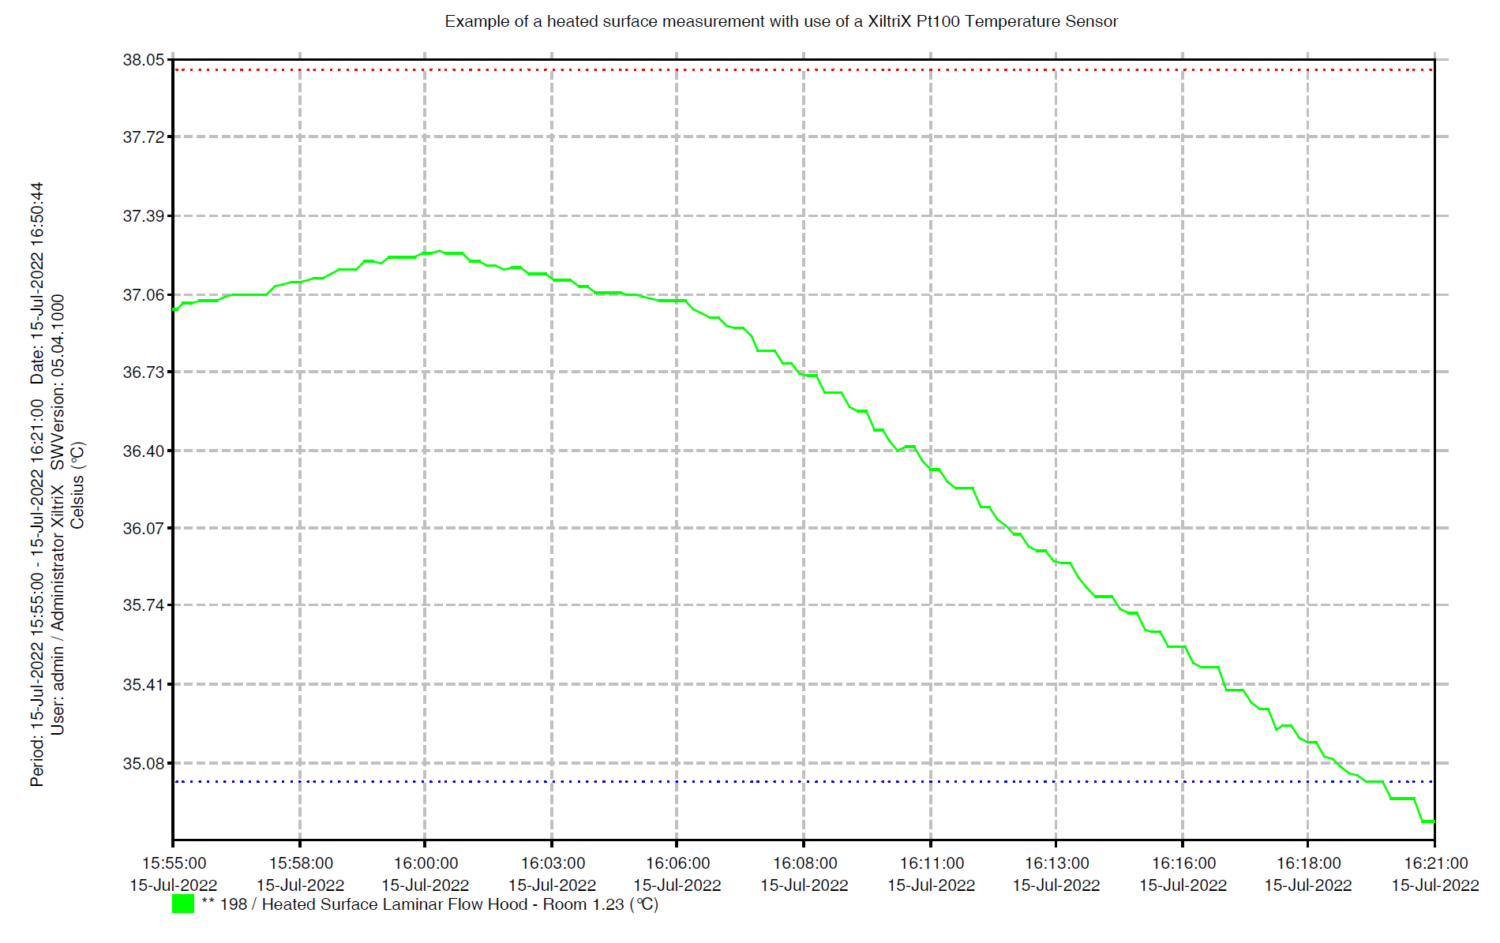
Temperatures in a laboratory can differ throughout the year and even throughout the day. Going from a heated area (more easily controlled) to a cooled area (with the help of air conditioning) can have a great effect on the temperature stability of a heated surface. Also, if the heated surface is placed inside a laminar flow hood, the air flow will have a cooling effect on the heated surface and will have to be compensated for. This also goes for the air vents that blow air into the room. If one such air vent is pointed directly onto a heated surface it can have a detrimental effect on the stability of the whole system.

Figure 4: Example of an unstable heated surface measured and visualized with a XiltriX Pt100 temperature sensor.
Finally, heat radiation from for example the sun can periodically heat up certain areas significantly and can change the behaviour of an air conditioning system. When calibrations (spot checks) are done in the morning, this effect can be completely unknown to the user, simply because there is no traceable record of the behaviour of the heated surface.
Fixing these errors is not easy and requires multiple parties to work together. Firstly, the user needs to indicate what the actual problem is and will need to work together with the facilities department to correct is. Without a trustworthy measurement over a longer period, this will be very hard to achieve. Using a monitoring solution that can both monitor accurately, quickly and for a longer period will be a useful tool in achieving a greater accuracy in surface temperature measurements.
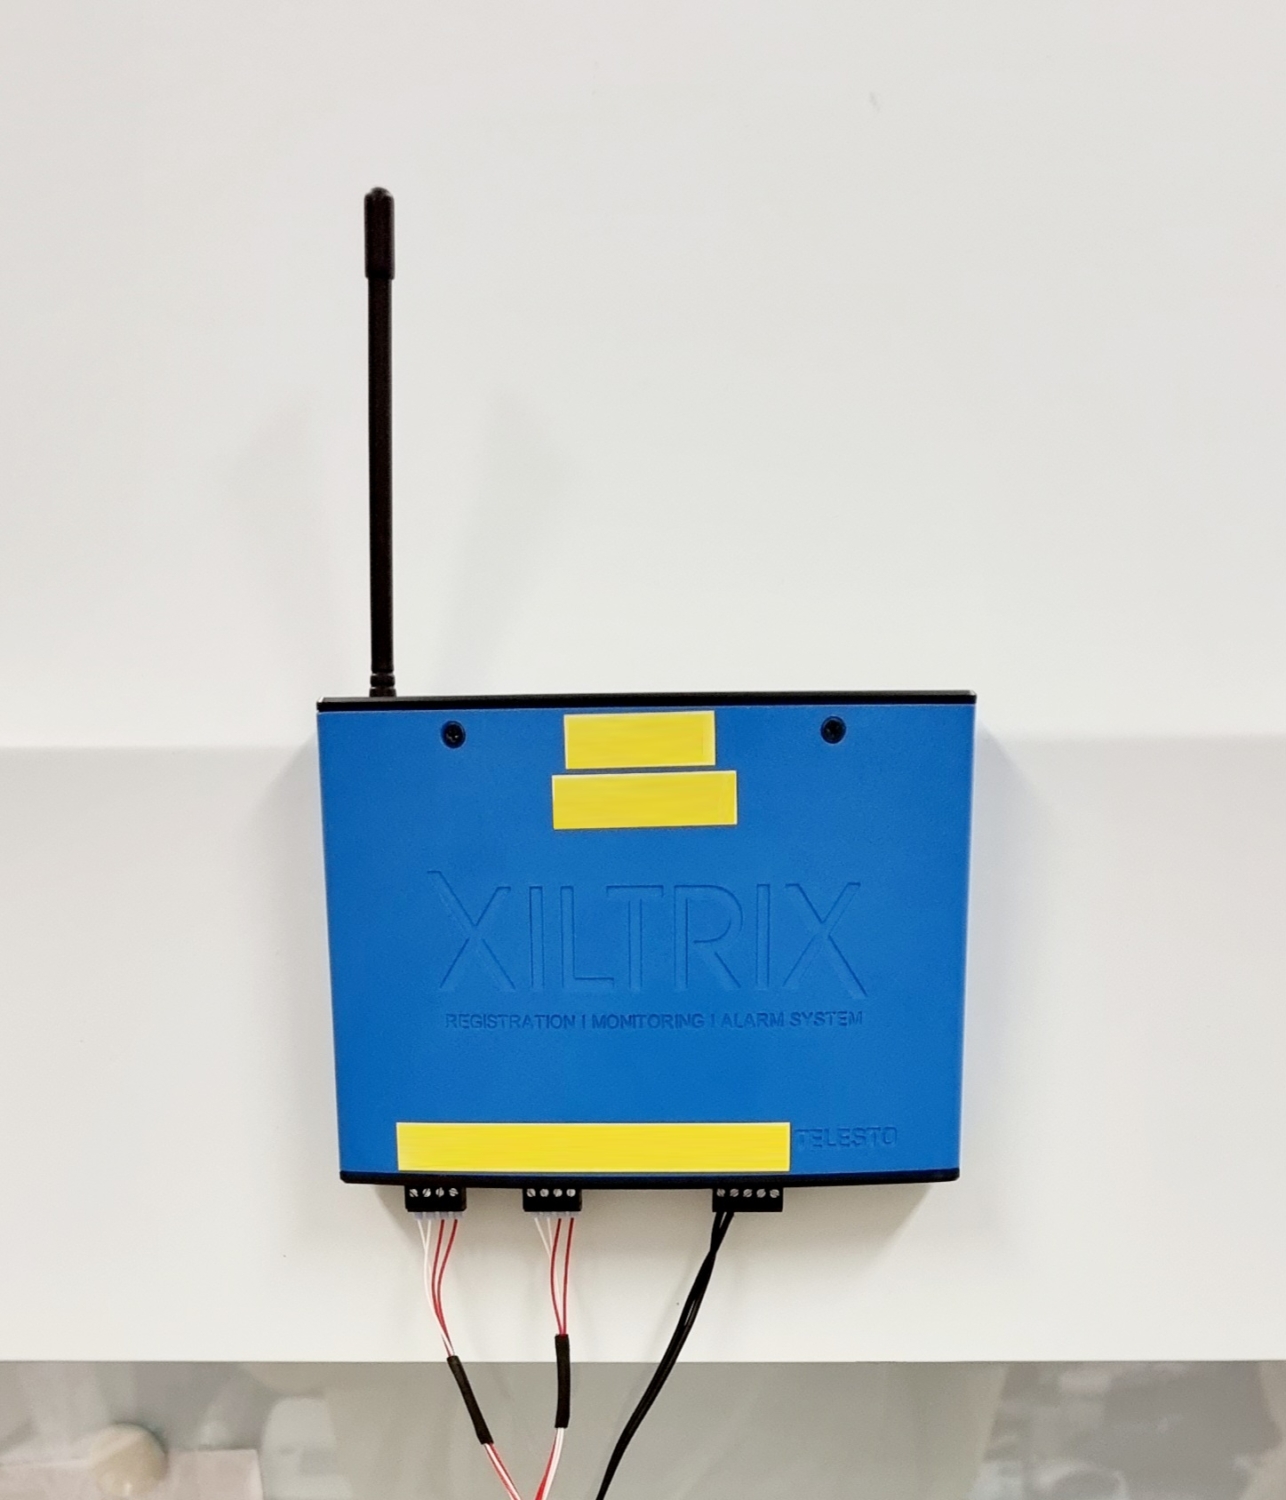
One such system is the XiltriX real-time monitoring system. This solution allows for a myriad of parameters to be monitored wirelessly, network and a hardwired system and provides 24/7 piece of mind in laboratories. Aside from monitoring temperature and allowing graphing and reporting over a very long period, the system also provides real-time alarms via SMS, E-mail, voice calls and local alarms like flashing lights and beacons.
If you need help in improving your surface temperature stability, please contact XiltriX via our website or via sales@xiltrix.com. Many examples of case studies can be found there illustrating very practical solutions to problems happening in laboratories today.
XiltriX International
Han Weerdesteyn
Chief Commercial Officer
If you would like to know more about XiltriX, let me know.
Han Weerdesteyn
CCO


